Mitering the Redesigned Float Frames
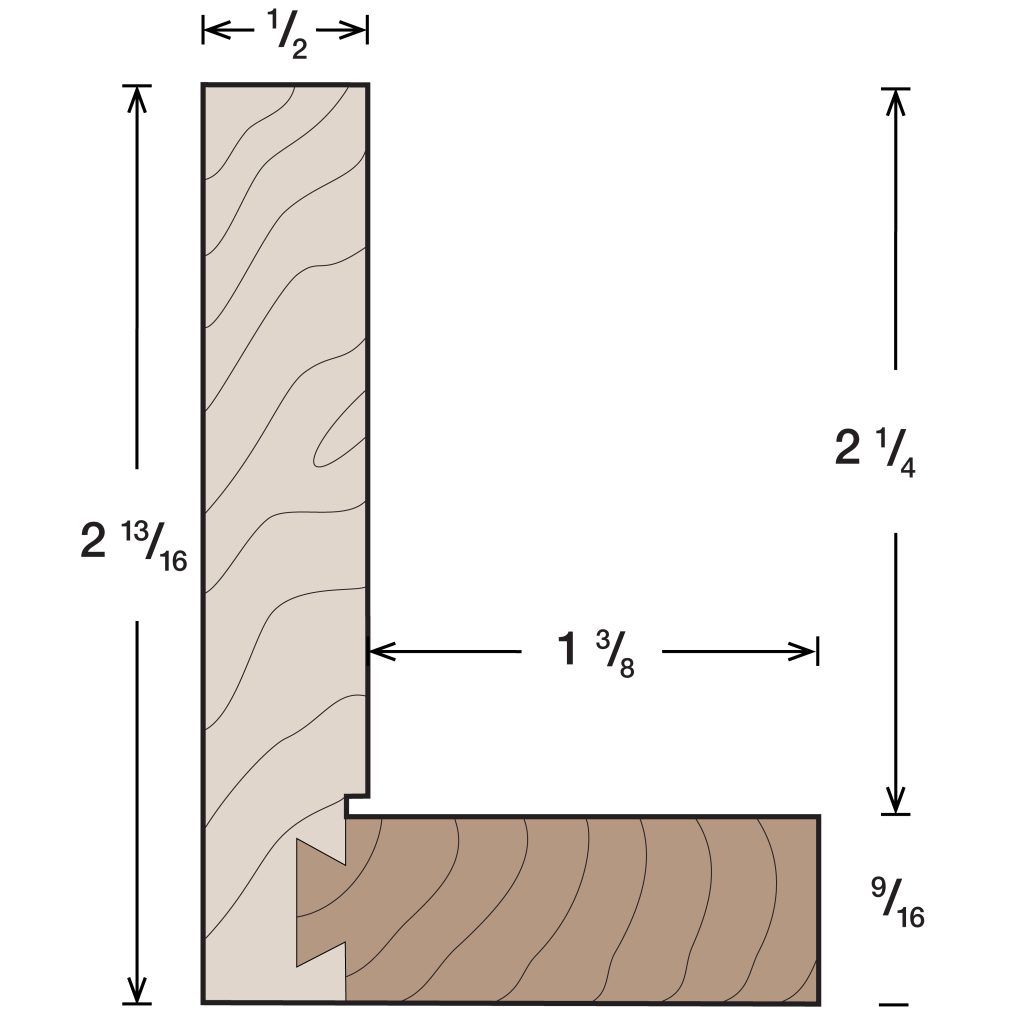
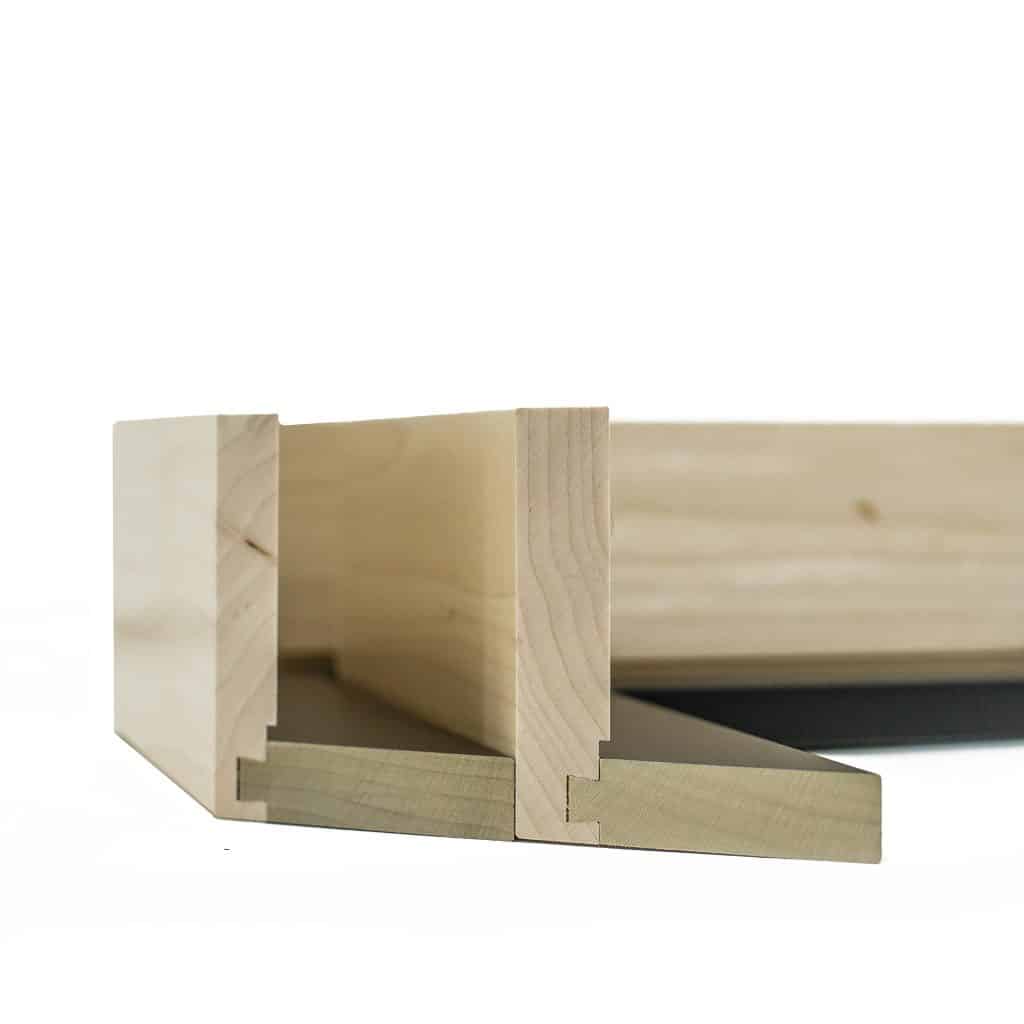
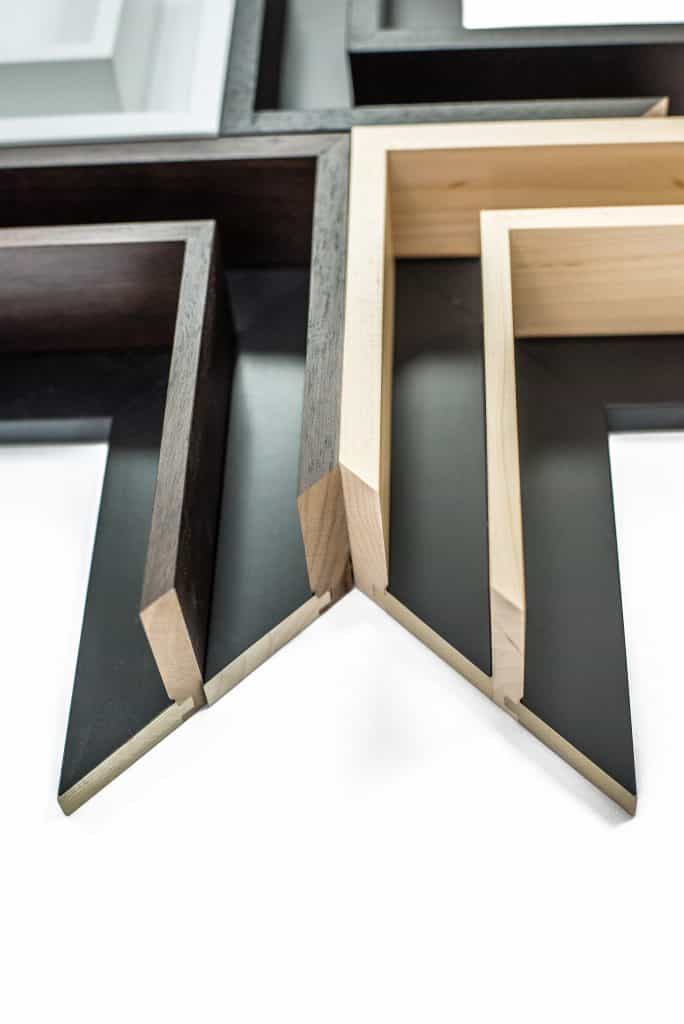
Our redesigned float frames are built to make getting perfect mitres and tight corners easy. The key to their success is ensuring that the “L” shape of the floater is a perfect 90°, and to accomplish this they have some built in play and flexibility in the joint connecting the two parts of the float frame: the stem (vertical) and the shelf (horizontal).
To get the perfect mitre with these profiles, there is a (very easy) trick: using either hand pressure (ok) or Quick-Grip style clamps (preferred), hold the stem (vertical piece) to the mitre saw fence and simultaneously secure the shelf (horizontal piece) to the mitre saw table. Some mitre saws have pneumatic clamps to secure the workpiece to the table; if your saw has this it’s perfect for securing the shelf to the table. If not, we recommend securing at least the stem (vertical) to the fence using a Quick-Grip clamp, and then use hand pressure to hold the shelf tightly to the table as the cut is made.
Basically, you’re using the built-in 90° of the mitre saw fence and table to ensure a perfect 90° “L” shape is cut. Clamping the pieces ensures that no extra movement is happening at the cut. The flexibility in the joint where the stem and shelf meet allows the moulding to conform to the machined surfaces of the mitre saw so that those surfaces dictate the 90°, rather than it being set by the glue in the joint.


